


Table of Contents
As one of the most popular programming languages, Python has found its way into many fields. However, for beginners, working with Python can be tricky – managing virtual environments, packages, and their dependencies can be problematic. But for now, you don't need to worry about that – in this article, we’ll focus on how to install Python in a way that will help you avoid those problems in the future.
Article continues below
Want to learn more? Check out some of our courses:
What Is the Best Way to Install Python for Beginners?
Most Python installation guides on the internet suggest going to the official Python website, downloading a particular version of Python, and then just following the installer step-by-step. However, I would argue that installing Python like that is not a good idea for beginners, even though it might look like the simplest solution.
This is because when you install Python like that, you essentially install the core Python interpreter, the program that will run your code, along with a few other tools. These tools are enough for you to run some basic code, but if you want to specialize in, for example, data science, you will have to install so-called packages. Packages are extensions to the core Python program designed to help you with specific problems in programming. While adding packages might seem simple at first, you will soon realize that it is far from it, mostly because the standard Python installation you get when you download Python from its website expects you to manage the packages using a tool called pip.
Pip is great for intermediate and advanced programmers because it allows you to be precise and flexible with what you add to your core Python interpreter so that you can write more specialized code. However, using pip requires some background knowledge in programming because the user is responsible for dealing with package dependencies. Simply put, package dependencies mean that certain packages depend on other packages to the point where one won't work unless you install both. What complicates things further is that certain packages only work with specific versions of other packages. While this is not that hard to deal with if you have a little bit of experience, as a beginner, it can feel like a nightmare – you will get endless errors telling you that you are missing something or have the wrong version of a package installed. Luckily, you can avoid this whole mess by installing Python with Anaconda.
What Is Anaconda and Why You Should Use It
You might see people calling Anaconda simply a "Data science platform" but in reality Anaconda is a distribution of the Python and R programming languages. As a beginner, Anaconda is easier to use because when you install Anaconda, you will manage package installation with conda and not pip. This might seem inconsequential, but it is actually a big deal. There are two main reasons why adding packages to the basic Python programmer is much easier with conda.
First, Anaconda comes pre-installed with a plethora of tools such as Jupyter Notebooks, Jupyter Lab, Spyder, and much more. This might not seem like a big deal now, but if you want to do any work with data, you’ll soon realize that over 80 % of data science is done in Jupyter Notebooks, so installing those tools alongside Python can be extremely useful.
Second, conda handles the dependencies between different packages for you. If you need to add package A to the core Python program to solve some problem, conda will ensure that it installs all the other packages necessary for package A to work properly. It will find the exact versions of the other packages that work with the particular package you want to install and even make sure that all of that matches with the packages you have already installed. If you need to simultaneously work on multiple projects requiring different packages, conda makes that simple too – you just create a so-called virtual environment and install packages there. When you need certain packages for a project, you can just switch to the virtual environment with all the packages necessary for your program to work. This is the equivalent of having multiple toolboxes, each with a particular set of tools stored inside them. When you want to work on some project, you just reach for the toolbox you need. In fact, there is even a visual interface that you can use to handle these virtual environments and to handle package installation, which means that, as a beginner, you can get away with not even using the command line. To be fair, using the command line is a must for programmers, but if you have never programmed before, avoiding it in the beginning isn't a big deal.
How to Install Python with Anaconda
Now that you know why you should install Python with Anaconda let's go over the installation process itself.
First, on the official Anaconda website, go to the section where you can download Anaconda. Once you are there, click on "Download."
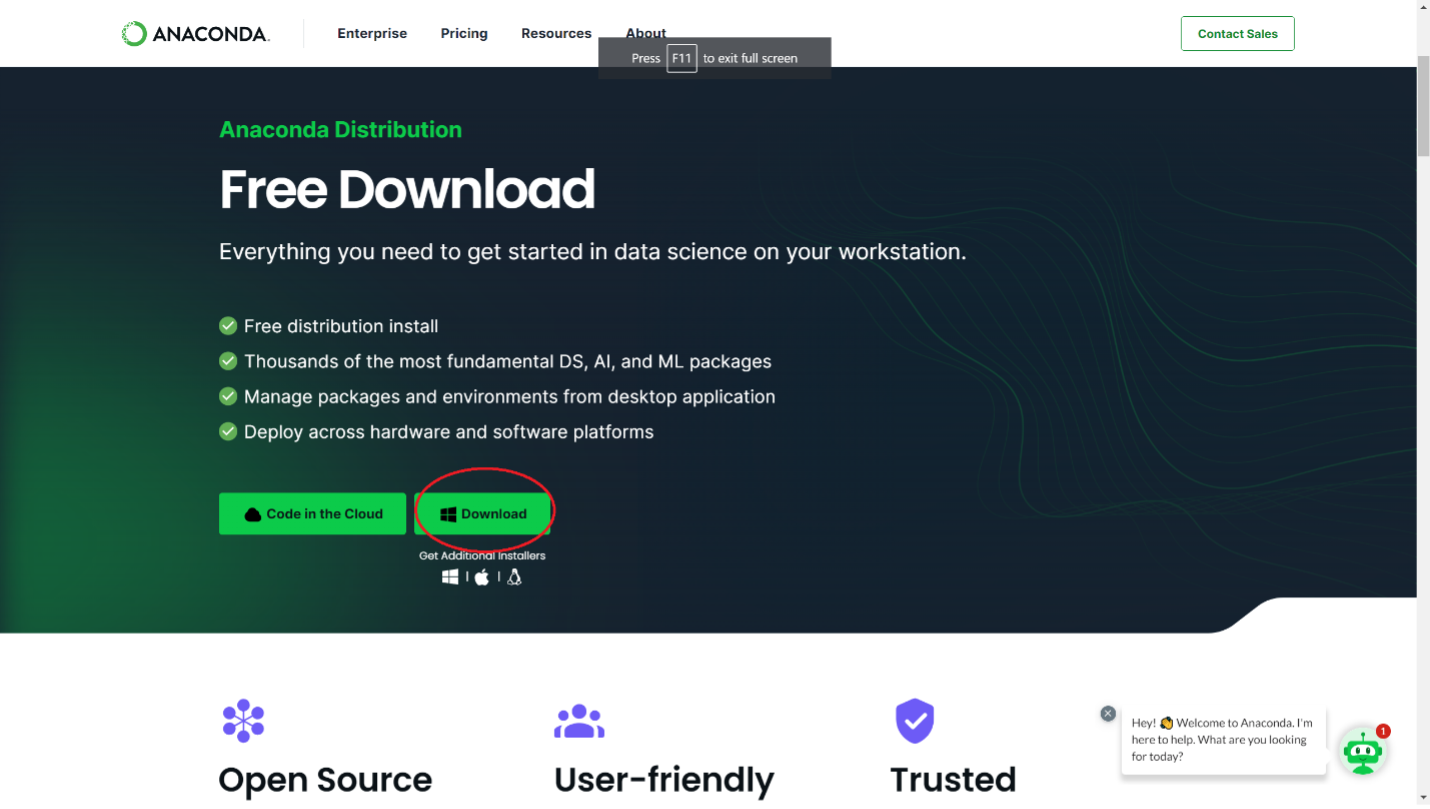
Image source: Edlitera
This will make sure that your computer downloads the Anaconda installer. Once the download is complete, run the installer. If you are on Windows, you can just double-click the downloaded file. If you are on macOS, open the .pkg file and follow the prompts. If you are on Linux, open a terminal, navigate to the directory containing the .sh file, and run bash Anaconda3-2023.07-Linux-x86_64.sh (after bash, type in the name of the downloaded file). I will use Windows for this demonstration.
Once you open the installer, you will be greeted with a window like this:

Image source: Edlitera
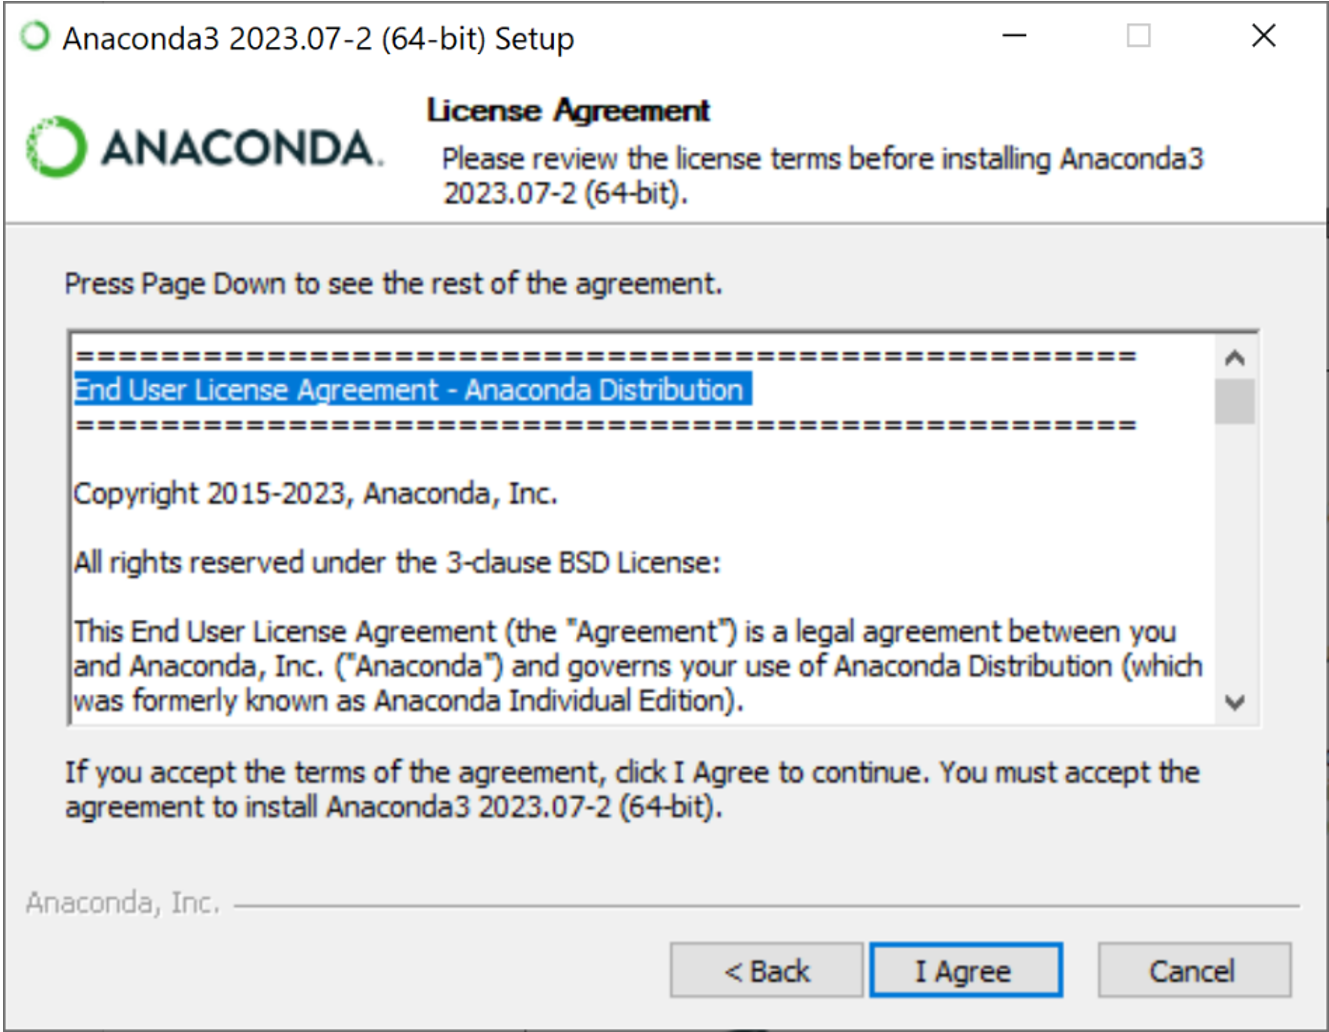
Here, you just follow the instructions and click on "Next." This will take you to the License Agreement screen that looks like this:
Anaconda3 installation - License Agreement.
Image source: Edlitera
This part outlines what you can and can't legally do with Anaconda. Next, click on "I Agree" and move on to the next step of the installation process.
Clicking on "I Agree" will take you to a screen that looks like this:
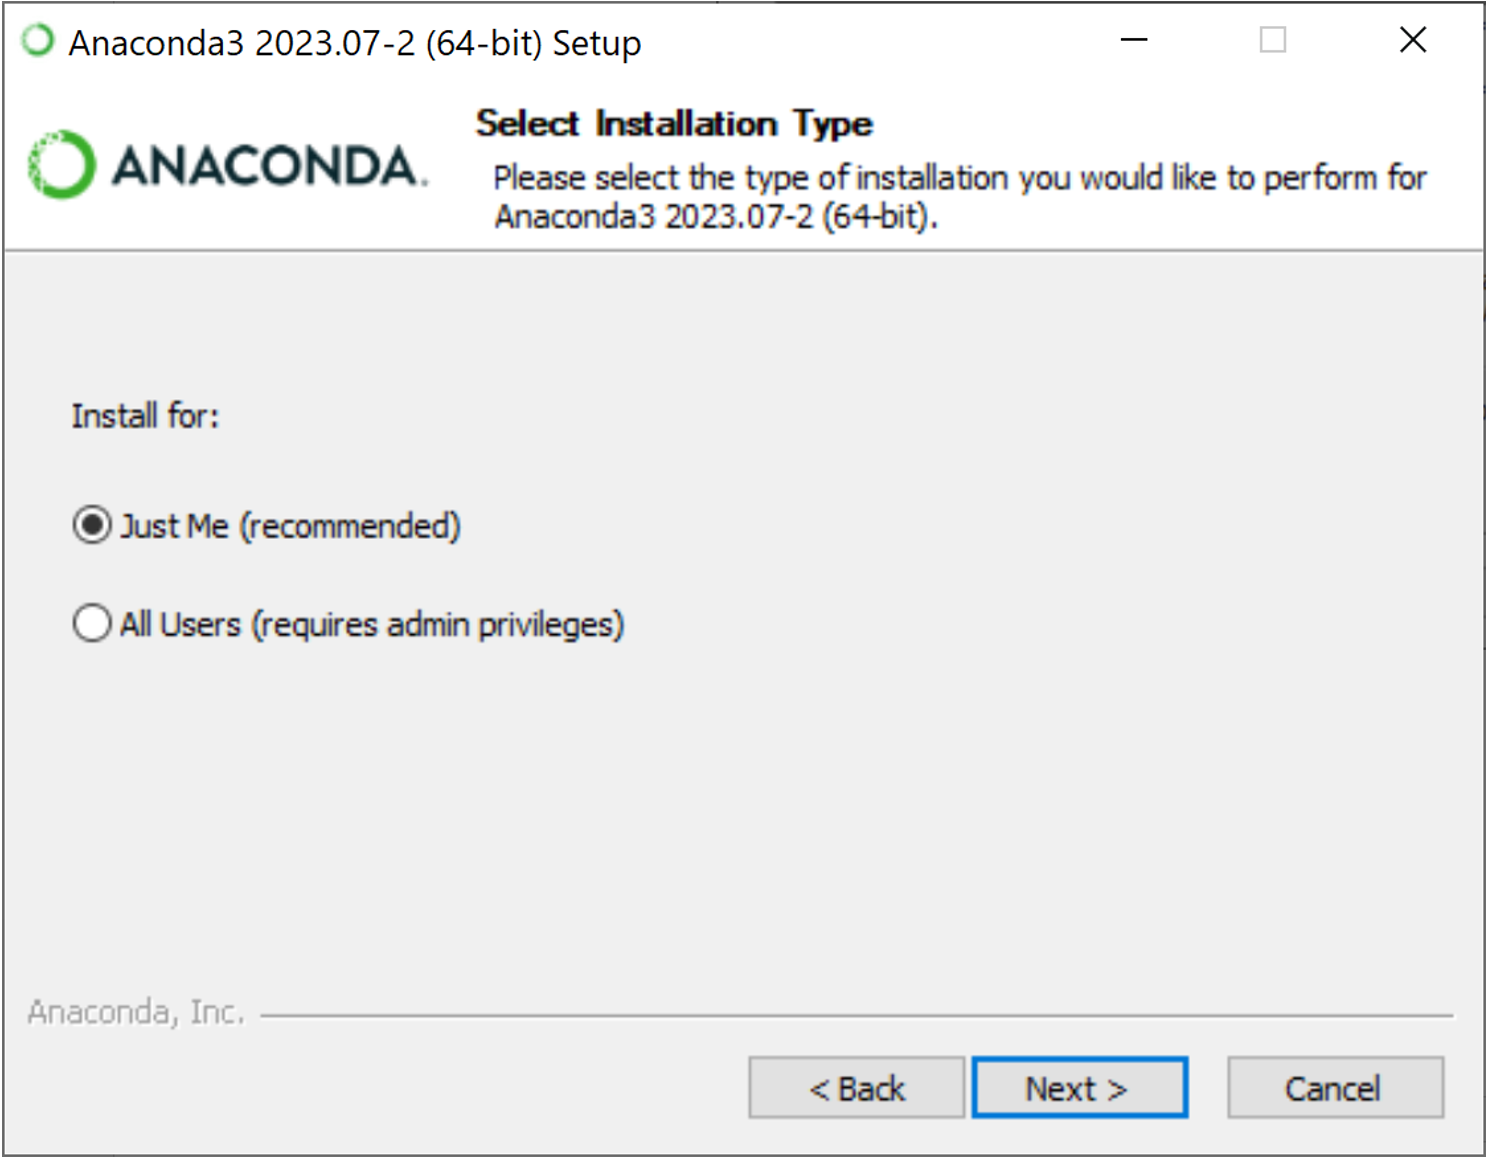
Image source: Edlitera
Now you need to decide whether you want to install Anaconda for all users on that computer, or just for the user you are currently logged on. If you want to, you can install it for all users, but in general, it is recommended to install just for the current user so that's what we are going to do: select "Just Me" and click on "Next."
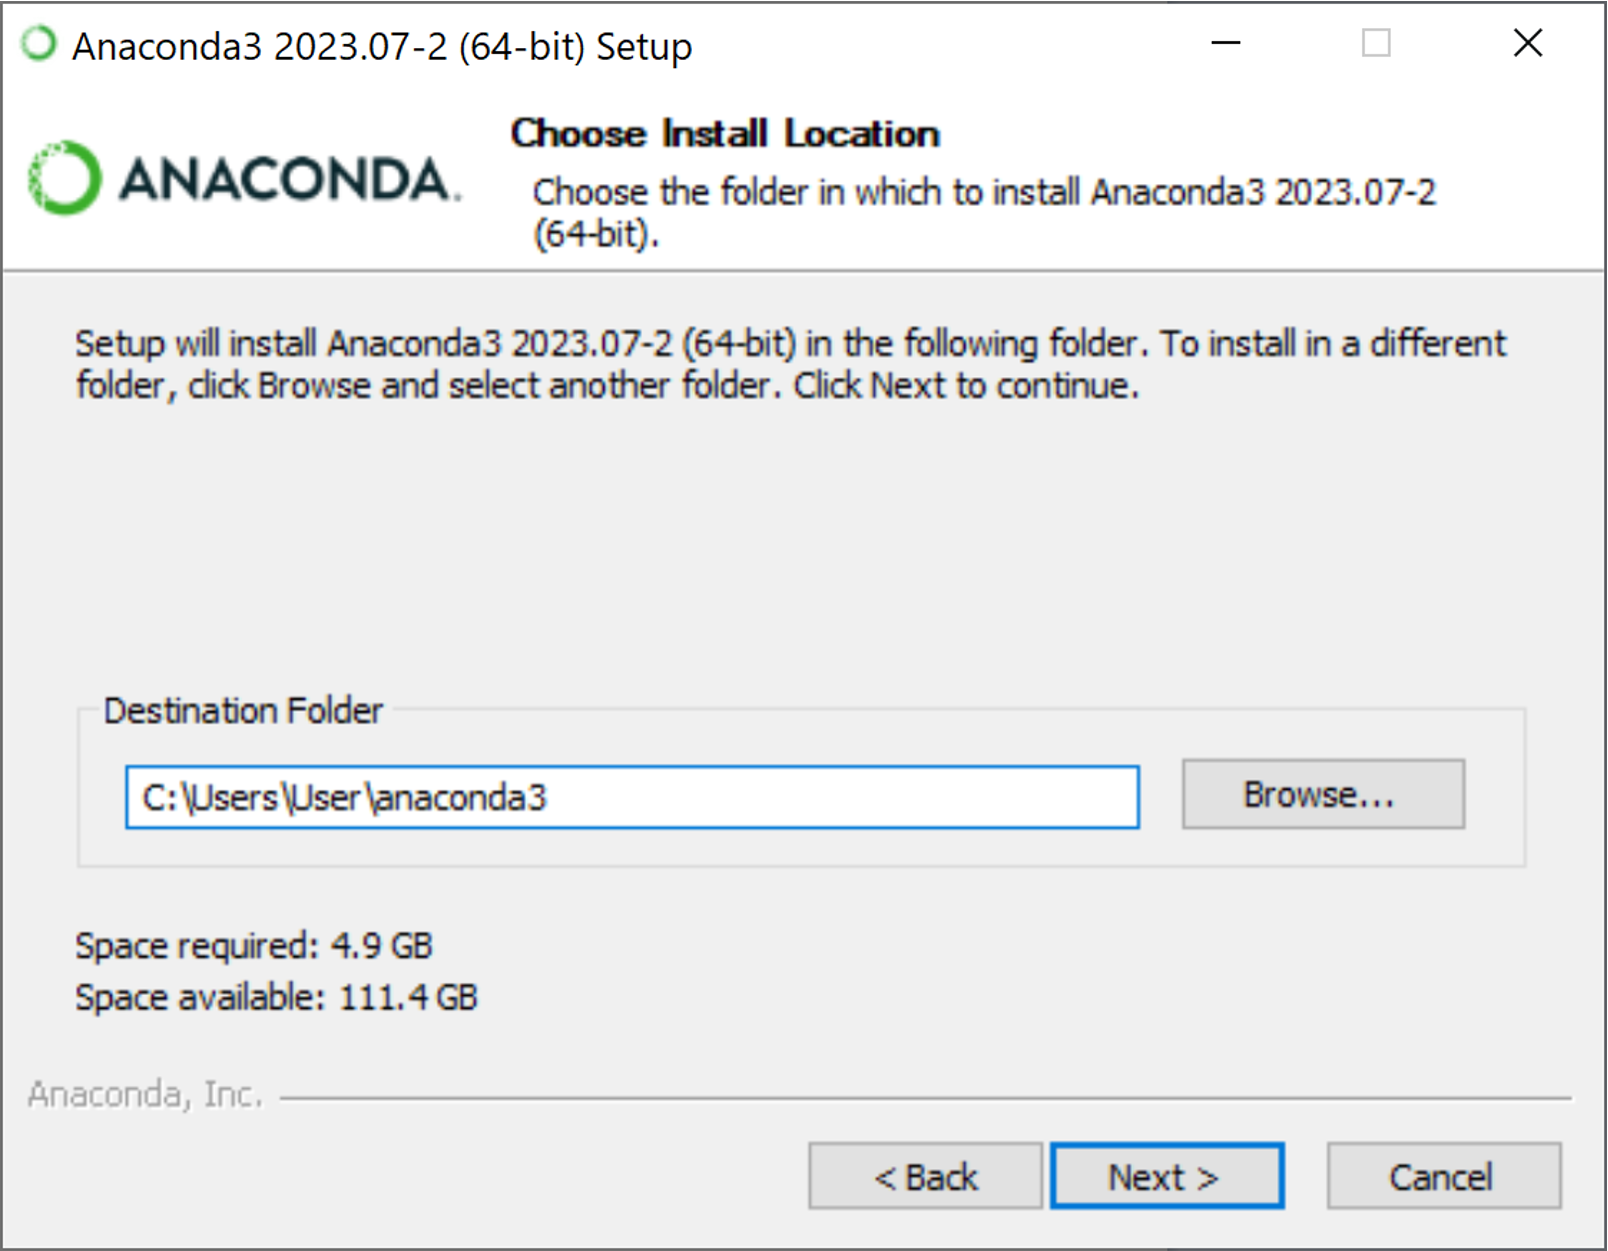
After that, you need to decide where you want to install Python. You don't necessarily need to install Python on the C: drive (your main drive), but there are some nuances to consider if you install it elsewhere. The most important thing you need to ensure is that the path to Python executables is added to the system's PATH variable, which you can do on the next screen of the installer. For now, if you can, install Python on your main drive. If not, we will deal with the PATH variable problems in a few moments. I will install it on the C: drive.
After clicking on "Next," you will be moved to a screen that looks like this:
Anaconda3 installation - Choose Install Location.
Image source: Edlitera
Now, as you can see, I have selected that I want to add Anaconda3 to my PATH variable even though it is not recommended. I’ve done this because the PATH variable on Windows specifies a set of directories where executable programs are located. This means that when you open a command line and type in a command, the system will look for that command in the directories specified by the PATH variable.
Adding Anaconda to your PATH greatly simplifies working with Python and Anaconda. For example, if you want to run Python from the command line and you don't have Anaconda in your PATH, you will have to type in the full path to the python.exe file on your computer each time, which can be annoying. Imagine needing to type in something like C:\Users\Username\AppData\Local\Programs\Python\Python39\python.exe in the command line every time you want to run Python from it. Instead, if Anaconda is in your PATH, you can just type in python and run any command you want. As you can see, that is much more practical.
The reason why you are warned against adding Anaconda in your PATH is because it can lead to some issues, but beginners generally won't run into them. Most issues appear in one of two situations:
- You’re trying to install multiple versions of Python on the same computer (not something that beginners would need to do, and not a good idea even for advanced users since you can just create different virtual environments that run different versions of Python)
- There is another program that uses the same command (e.g., some other program that uses the command python, which is also not something you are likely to run into)
Therefore, I would suggest adding Anaconda to your PATH to make your life easier.
Aside from that, creating shortcuts is always practical, so we will also do that. You should also make sure to register Anaconda as the main Python installation. This will tell any future program you install on your computer that it should use the Python you installed with Anaconda. The last part is something that you don't need to worry about: the cache is a place that stores temporary files that make reinstalling a program faster. If you, for some reason, want to reinstall the program, you will not need to download some files stored in the cache to make the process faster. The amount of space it consumes is not that big, so I won't clear the cache.
After clicking on “Install,” just wait for the installation process to finish, and that's it: you have successfully installed Python on your computer. If you want to make sure that you have successfully installed Python with Anaconda, simply type in "cmd" in Windows Search like this:
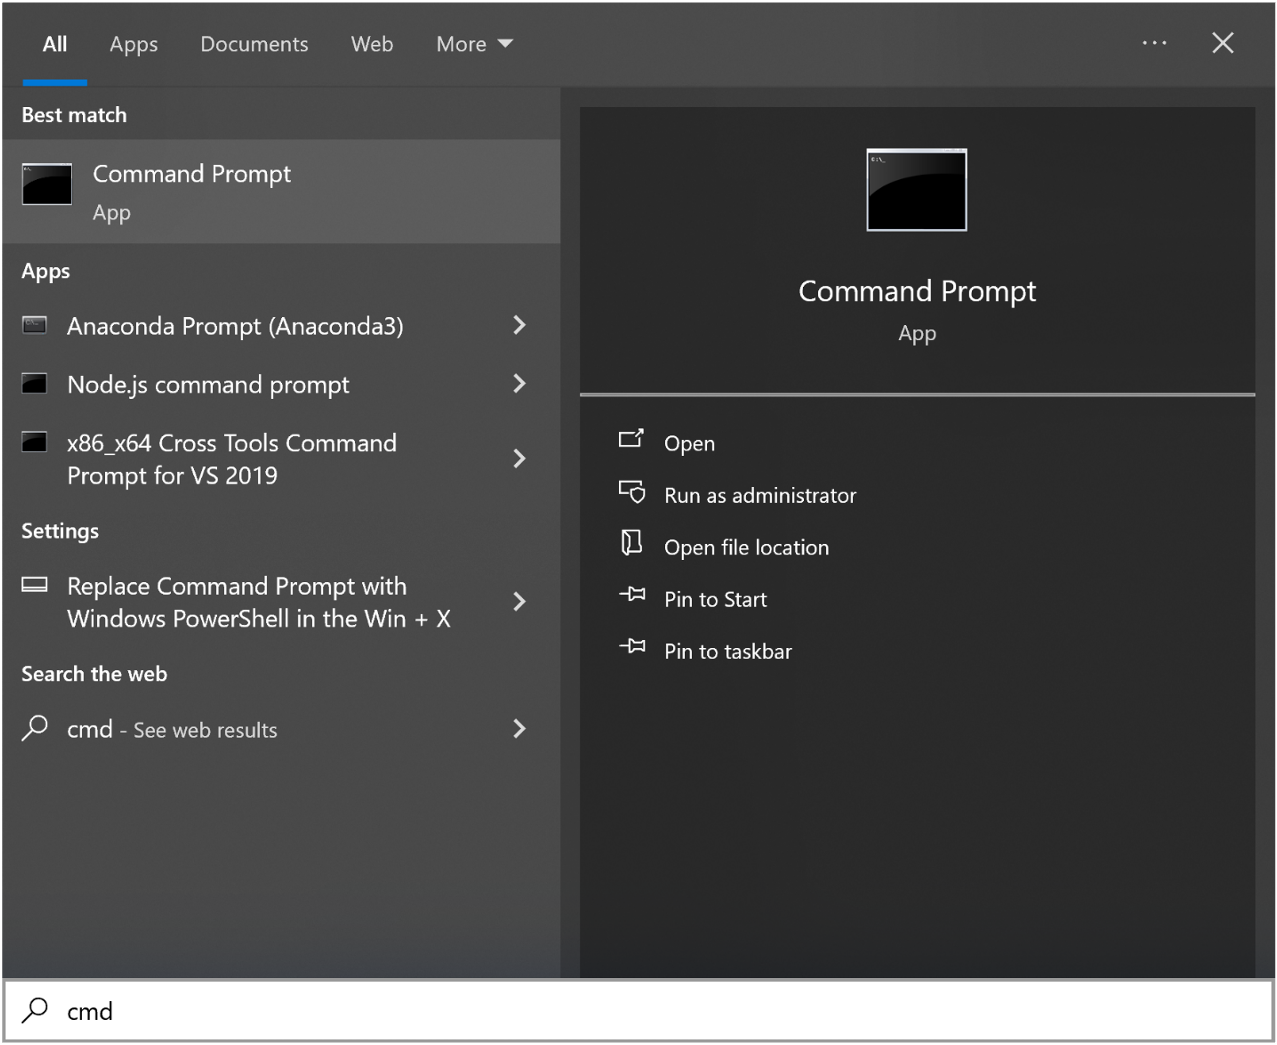
Image source: Edlitera
After you click enter, a console will open that looks like this. Here, you just type in python in the command line and press enter:
![A command prompt window with three lines of text: "Microsoft Windows [Version 10.0.19045.3324]", "(c) Microsoft Corporation. All rights reserved.", and "C:\Users\User>python"](https://res.cloudinary.com/edlitera/image/upload/c_fill,f_auto,/v1693574470/blog/l9i17jdc7dybgwjbloyu)
Image source: Edlitera
This should return a string of text that you don't need to worry about, but below the text are three arrowheads where you can run some Python code. Let's run a simple command that prints out some text by typing the following into the command line:
Running a simple command.
Image source: Edlitera
After you click enter, you will get the following:
Printing "hello world".
Image source: Edlitera
Congratulations! You have successfully installed Python, and run your first bit of Python code from the command line.
- Intro to Programming: How to Use the Command Line (part 1)
- Intro to Programming: How to Use the Command Line (part 2)
In this article, I went step by step through the whole Anaconda installation process, and in the end, I demonstrated how you can test out that you successfully installed Python by running a bit of code in the command line. However, remember how I previously mentioned that if you install Python through Anaconda, you can get away with not using the command line for some time? You can do this by using the graphical interface for Anaconda – the Anaconda Navigator – but more on that in the following article.

